Suspension Accumulators: Difference between revisions
Jump to navigation
Jump to search
m (Uzz32 moved page AccumulatorRegassing to Suspension Accumulators without leaving a redirect) |
No edit summary |
||
| Line 1: | Line 1: | ||
The UZZ32 suspension contains a total of 7 nitrogen-filled accumulators: | |||
* the four accumulators located at the bottom of each suspension strut act as "Gas Springs" in lieu of conventional springs | |||
* additional accumulators on the [[Suspension Pump]] and [[Valve Body]] serve to provide a store of energy and to even out undesired fluctuations | |||
===Accumulator Re-gassing=== | ===Accumulator Re-gassing=== | ||
To re-fill the Nitrogen in the suspension accumulators; | To re-fill the Nitrogen in the suspension accumulators; | ||
Revision as of 12:06, 15 March 2014
The UZZ32 suspension contains a total of 7 nitrogen-filled accumulators:
- the four accumulators located at the bottom of each suspension strut act as "Gas Springs" in lieu of conventional springs
- additional accumulators on the Suspension Pump and Valve Body serve to provide a store of energy and to even out undesired fluctuations
Accumulator Re-gassing
To re-fill the Nitrogen in the suspension accumulators;
- Remove the accumulator
- Install valve
- Fill with Nitrogen
Removing the accumulator
To remove the accumulator:
- Remove the wheel
- Clean the suspension components and surrounding area so that a) you can see what you're doing, and b) the dirt does not get into the threads of eg the nuts & bolts
- Apply suitable lubricant / (eg Penetrene) and let sit for a while to help release the bolts.
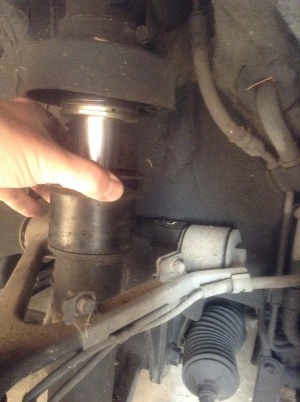
- Release the hose clamps around the rubber boots that protect(ed) the suspension piston.
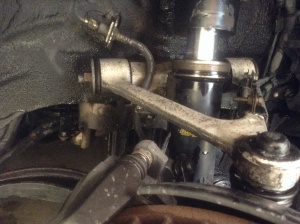
- Unscrew the "cover" that joins the top of the accumulator to the rest of the suspension strut. This will likely need a pipe wrench (diameter of the cover is approx. 75 mmm)
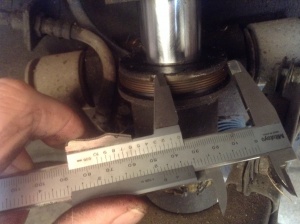
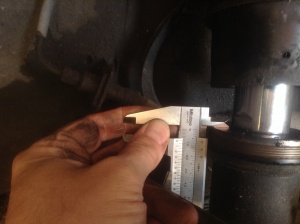
- Unscrew the suspension piston. This will require a 36mm spanner. Note that the spanner can be no more than 8mm thick
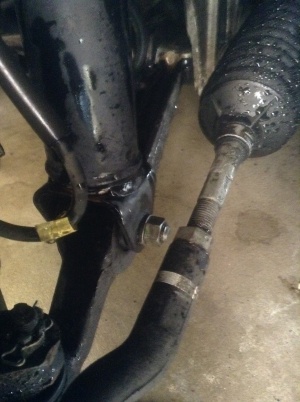
- Unscrew the 19mm nut that holds the accumulator to the lower A-arm
- Unscrew the 19mm that hold the upper A-arm in place and remove the bolt. As this bolt is quite long, you will also need to remove the front side wheel well /engine under cover.
Optionally, re-build the suspension struts and/or check & replace the suspension bushes while "in the area".
